
A fresh coat of paint can completely transform your home turning dull, outdated walls into bright, beautiful spaces. If you’ve been searching for the best way to learn how to paint a room, this complete guide from Affordable Painting Plus is exactly what you need. We’ll walk you through every step from planning and preparation to perfect finishing touches so you can achieve smooth, professional-quality results. Whether you’re painting a single wall or refreshing your entire home, our expert tips will help you get your rooms painted beautifully and efficiently.
How to Paint a Room Step-by-Step with Pro Tips
Painting a room isn’t just about color it’s about preparation, precision, and patience. Whether you’re tackling a single wall or updating your entire home, knowing what order to paint a room and how long it takes to paint a room can make all the difference. For homeowners looking for professional help, interior painters Nashville TN like Affordable Painting Plus bring expertise and quality results. This guide will walk you through every stage from choosing tools to adding final details so your rooms painted look smooth, durable, and stunning.
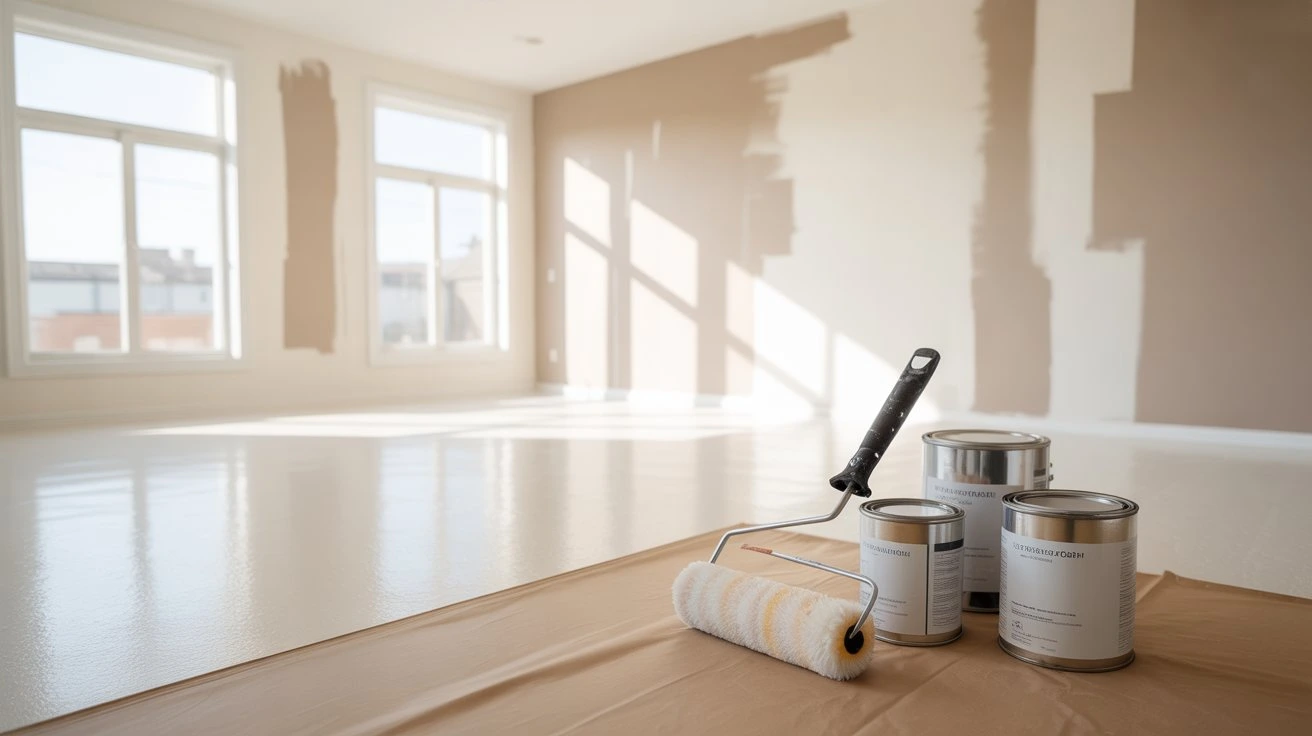
Tools and Materials You’ll Need
Before you begin, gather everything you’ll need. The right tools will make your job faster, cleaner, and more enjoyable.
Brushes, Rollers, and Trays
Use angled brushes for cutting corners and a roller for broad surfaces. A quality roller cover ensures smooth application and reduces streaks.
Painter’s Tape and Drop Cloths
Protect trim, outlets, and floors with painter’s tape. Use drop cloths or plastic sheets to safeguard furniture and flooring from paint splatters.
Primer and Paint (Right Type for Your Walls)
Choose primer based on wall condition. Select the right paint finish:
- Matte or eggshell: Great for low-traffic rooms
- Satin or semi-gloss: Perfect for kitchens and bathrooms
Ladder, Extension Pole, and Cleaning Supplies
Use a sturdy ladder for high spots and an extension pole for ceilings. Keep rags, soap, and water handy for quick cleanups.
Step 1: Plan Your Painting Project
Planning saves time, reduces stress, and ensures professional-level results.
Decide on Color Schemes, Finishes, and Timing
Consider the mood you want calm neutrals, warm tones, or vibrant colors. Think about lighting: natural light can make paint look lighter, while artificial light can darken it.
Estimate Paint Quantity
Use a paint calculator or follow this rule: one gallon typically covers about 350–400 square feet. Always buy a little extra for touch-ups.
Check Lighting and Wall Conditions
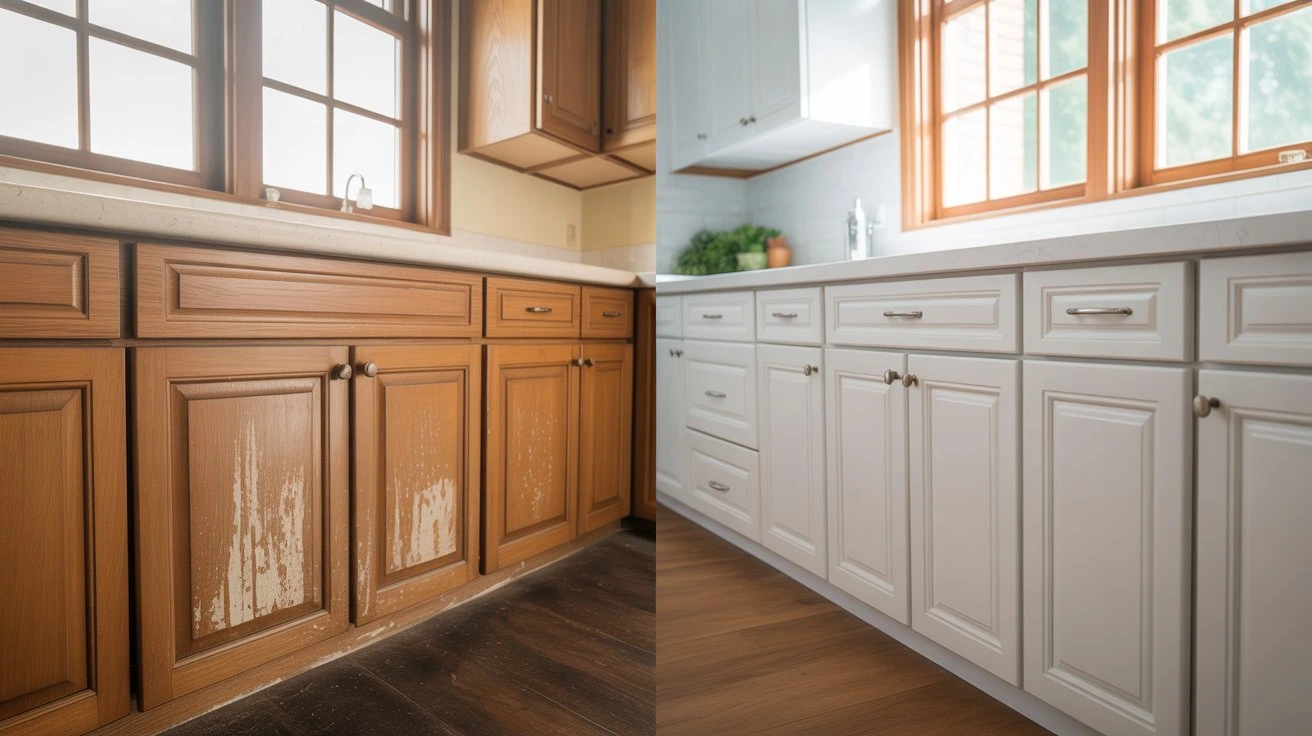
Inspect your walls for cracks, moisture, or peeling paint. Fixing issues now prevents problems later and makes your paintings in a room look seamless.
Step 2: Prepare Your Space
Preparation is what separates amateur paint jobs from professional ones.
Move or Cover Furniture
Clear the room if possible. If not, move furniture to the center and cover it with drop cloths.
Remove Wall Décor, Outlet Covers, and Switch Plates
Take off anything attached to the wall. This makes painting faster and gives cleaner edges.
Repair Any Cracks or Holes
Fill holes with spackle or filler and sand smooth. Don’t skip this imperfections can show through even after multiple coats.
Clean and Sand Surfaces for a Smooth Base
Wash walls with mild soap and water to remove grease or dust. Lightly sand glossy areas so the paint adheres better.
Step 3: Prime the Walls
Primer ensures better coverage and a uniform finish, especially when painting over dark or glossy colors.
When and Why to Use Primer
Use primer on new drywall, repaired areas, or when drastically changing colors. It helps the paint stick and prevents blotchy results.
Tips for Applying Primer Evenly
Apply with long, even strokes using a roller. Work from top to bottom and maintain a wet edge to prevent visible lines.
How Long to Let Primer Dry Before Painting
Most primers dry within 1–2 hours, but always check the manufacturer’s instructions. Rushing this step can cause peeling later.
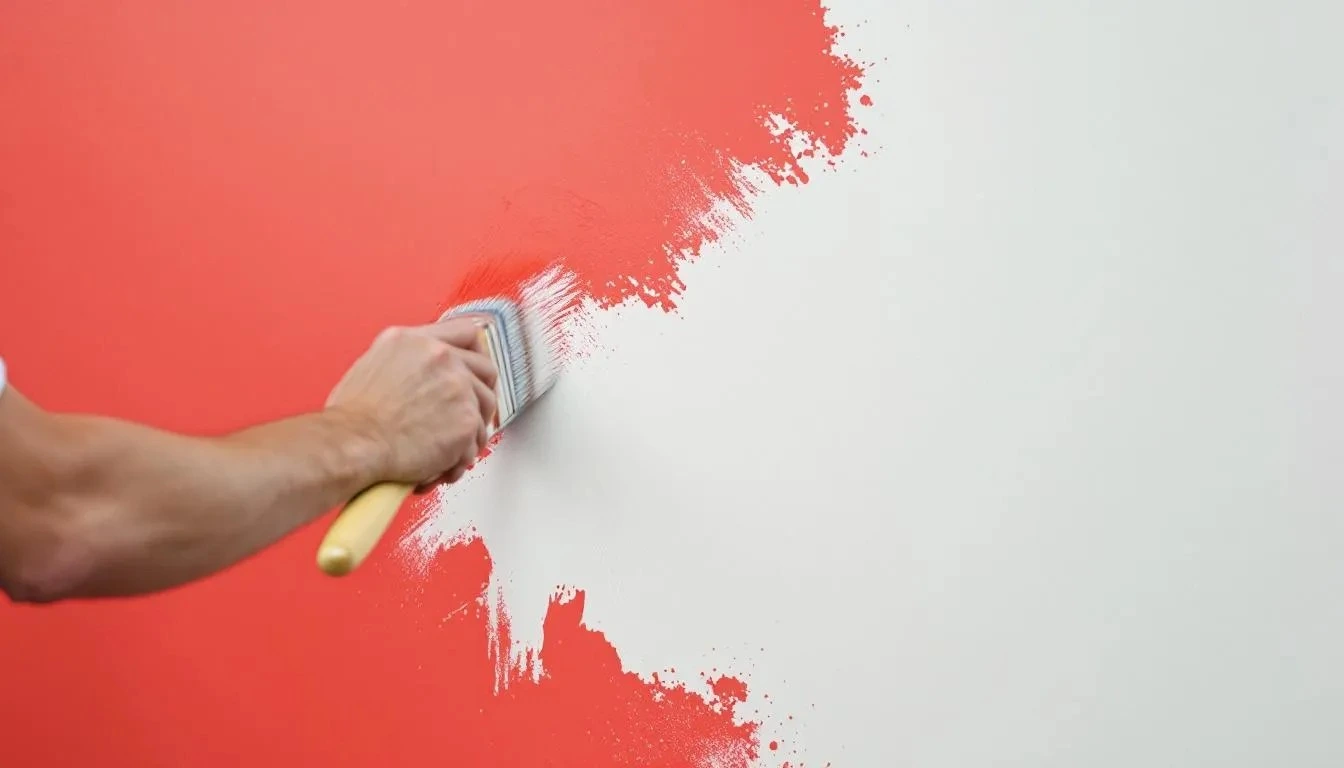
Step 4: Paint Like a Professional
Now comes the fun part bringing color to your space!
Cutting in Corners and Edges
Start by using an angled brush to carefully paint around trim, corners, and the ceiling line. This step defines the edges and gives your paint job a crisp finish.
Rolling Techniques for Even Coverage
Load your roller evenly and roll in a “W” pattern, filling in gaps without lifting the roller too often. This technique ensures consistent coverage and eliminates streaks.
Applying the Second Coat (When Necessary)
Most rooms need two coats for the best finish. Wait at least two hours between coats or until the first coat feels dry to the touch.
Wondering how long does it take to paint a room with two coats? On average, expect about 6–8 hours total, depending on room size and drying time.
Step 5: Add Finishing Touches
The final touches turn a good job into a great one.
Remove Tape Carefully
Take painter’s tape off at a 45-degree angle while the paint is slightly wet. This prevents peeling and ensures clean lines.
Reinstall Hardware and Décor
Once the paint is dry, reattach outlet covers, light fixtures, and wall décor. Avoid hanging heavy frames for at least 24 hours.
Clean Up Brushes, Rollers, and Spills
Clean tools immediately after use. Latex paints wash off with warm water; oil-based paints may need mineral spirits.
Let the Paint Cure Before Moving Furniture Back
Allow at least a full day for paint to cure before rearranging furniture. This avoids dents, smudges, and marks on fresh paint.
Pro Painting Tips from Affordable Painting Plus
Here’s where the pros at Affordable Painting Plus step in with insider secrets to make your paint job last longer and look better than ever.
Avoid Common DIY Mistakes
- Don’t paint over dirty or glossy walls without sanding.
- Don’t skip primer if you’re covering dark colors.
- Never paint under poor lighting it hides imperfections until it’s too late.
Use High-Quality Paints for Lasting Results
Premium paints might cost more upfront, but they cover better, resist fading, and are easier to clean saving time and money long-term.
When to Call Professional Painters for Best Outcomes
If your project involves large rooms, high ceilings, or complex trim work, call professionals like Affordable Painting Plus.
Our experts know what order to paint a room, how to prepare every surface, and deliver immaculate rooms painted efficiently without stress.
For painters managing multiple projects, keeping track of quotes and payments is just as important as prep and painting technique. Invoice Solution makes it simple with their invoice for painters tool, helping you stay organized and focus on delivering flawless results.
Final Thoughts
Now you know exactly how to paint a room like a pro from planning and prepping to finishing like an expert. With the right tools, techniques, and patience, anyone can achieve a beautiful, professional-quality finish.
If you’d rather skip the hassle, trust Affordable Painting Plus to handle it for you. Our team brings years of expertise, top-quality materials, and guaranteed satisfaction to every project ensuring your paintings in a room last for years. Ready to transform your home? Contact Affordable Painting Plus today and let us bring your vision to life with precision, care, and professional excellence.
FAQs
How long does it take to paint a room?
It varies by size and complexity. On average, a standard bedroom takes about 6–8 hours from prep to finish. Professionals can complete it faster with flawless coverage.
Do I always need to use primer?
Not necessarily. If the wall is in good condition and you’re painting a similar color, you can skip primer. Otherwise, primer helps with adhesion and color accuracy.
What order should I paint a room in?
Start with the ceiling, then the walls, followed by trim, doors, and windows. This order ensures smooth transitions and clean lines.
How many coats of paint do I need?
Usually two coats provide even, durable coverage. Some dark colors may need three coats for best results.
How can I make my paint job look professional?
Use painter’s tape, quality brushes, and even strokes. Take your time, allow proper drying between coats, and follow all steps to painting carefully.